Model T fiberglass body go kart project

gegcorp2012

Active member
Messages
491
Reaction score
62
Location
Alabama
...That front grill including the Ford script is one big sticker, I found a Ford script that will go nicely, still not sure how I'm going to recreate that grill effect with paint though.


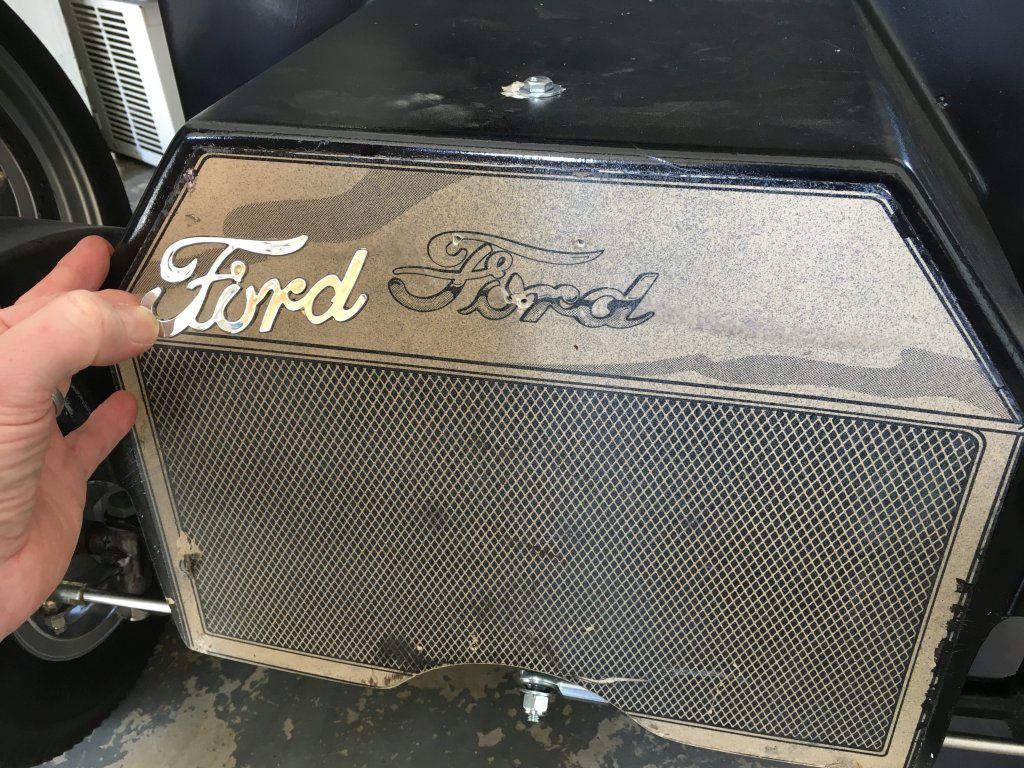
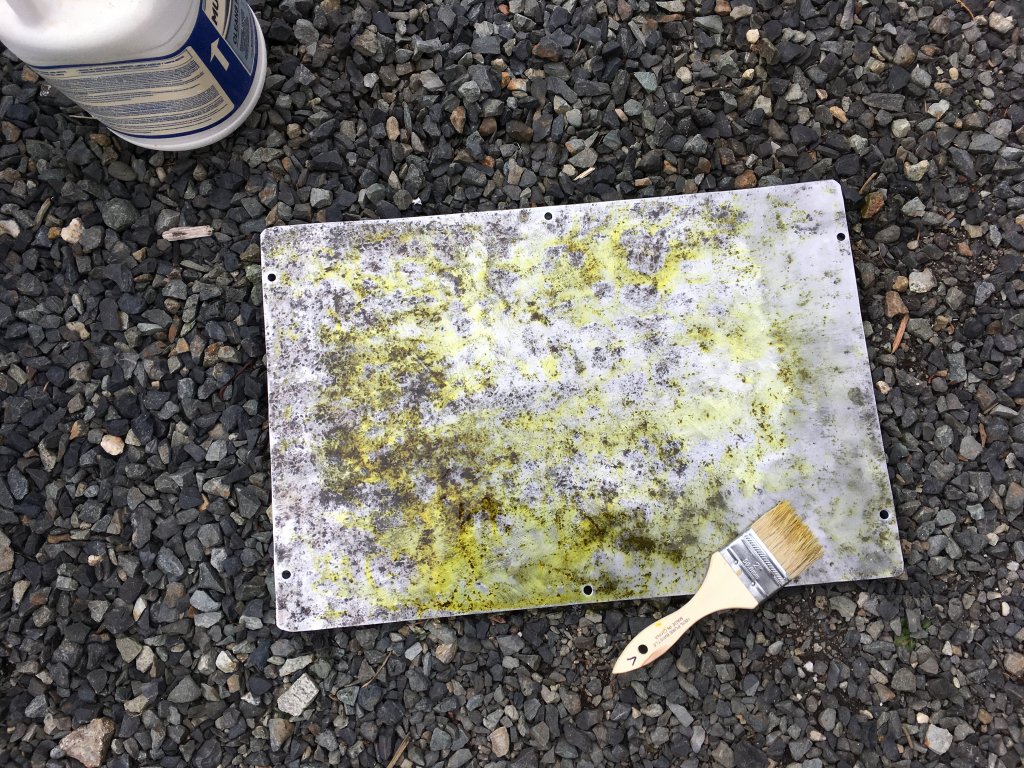
Remember some of the custom paint from the 60s and 70s (vans, etc) where they used to spray lace patterns ? I think they sprayed the lighter color first (aluminum or gold or your preference for the grille color), then clear, and after drying they put on the mask layer (an actual piece of lace, or expanded wire mesh in your case) then fog it sparingly with the darker color.

If it comes out to your liking, add a coat of clear to protect your work it and give it some depth.

BTW, I am NOT a paint guy, but having tried a similar thing, I would suggest practicing on something first (slick side of poster board) oriented the same way you plan to paint the grille,, and keep the spray light when applying the background color through the mesh (or lace) so you get a sharp pattern without runs.

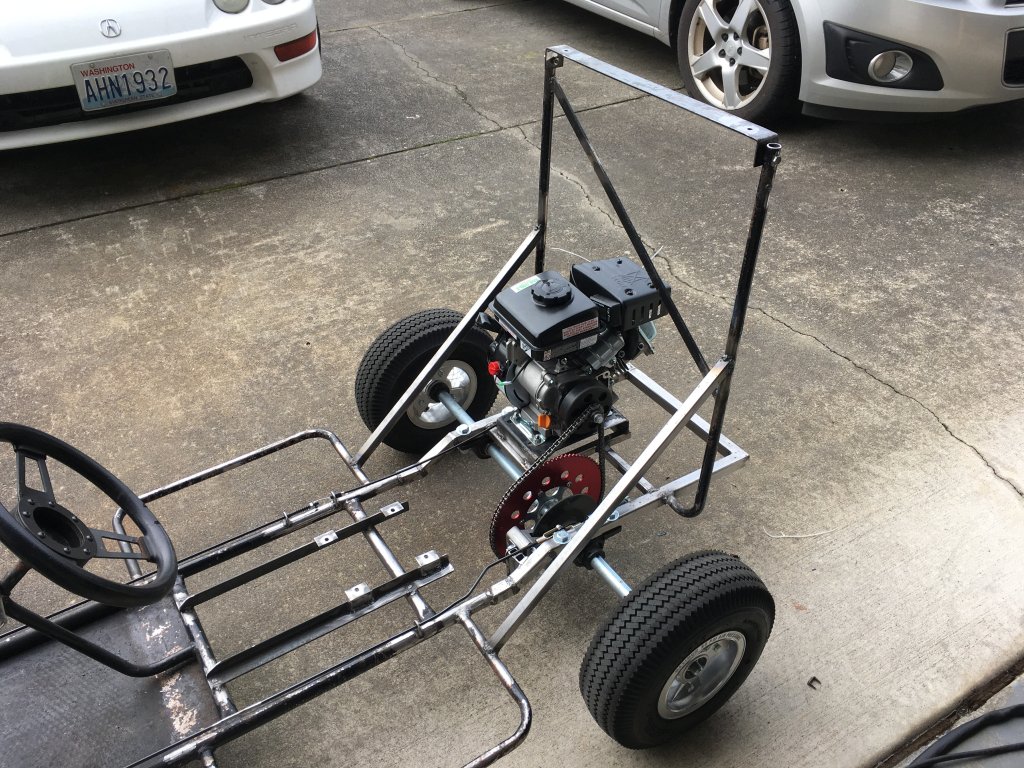
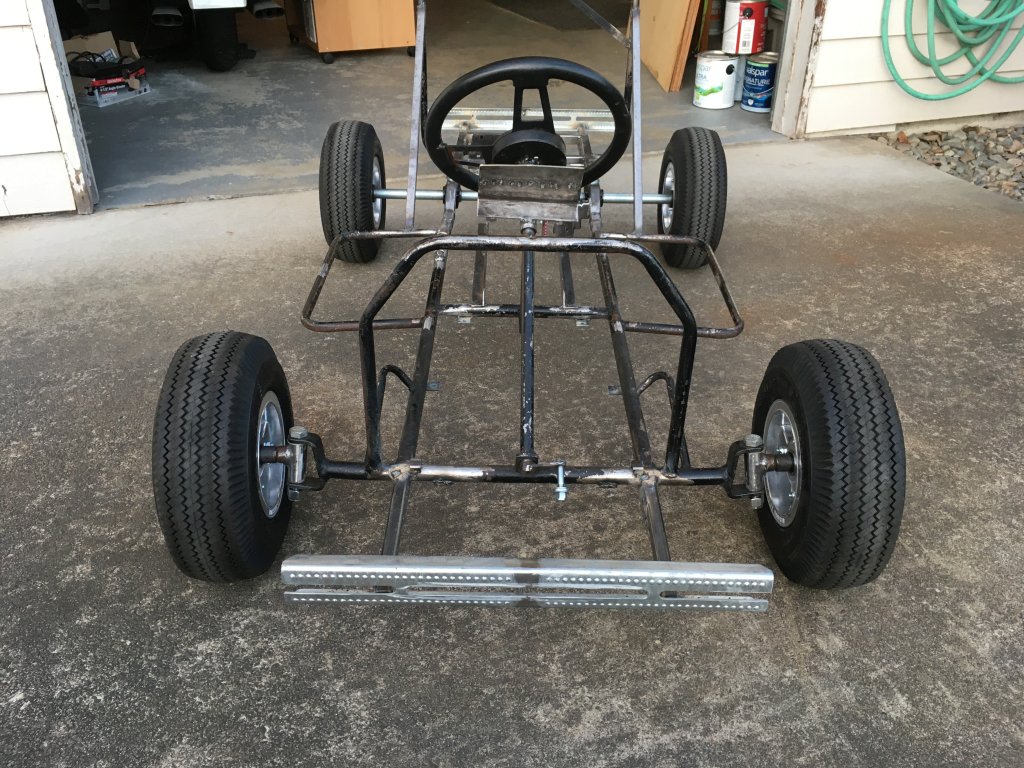
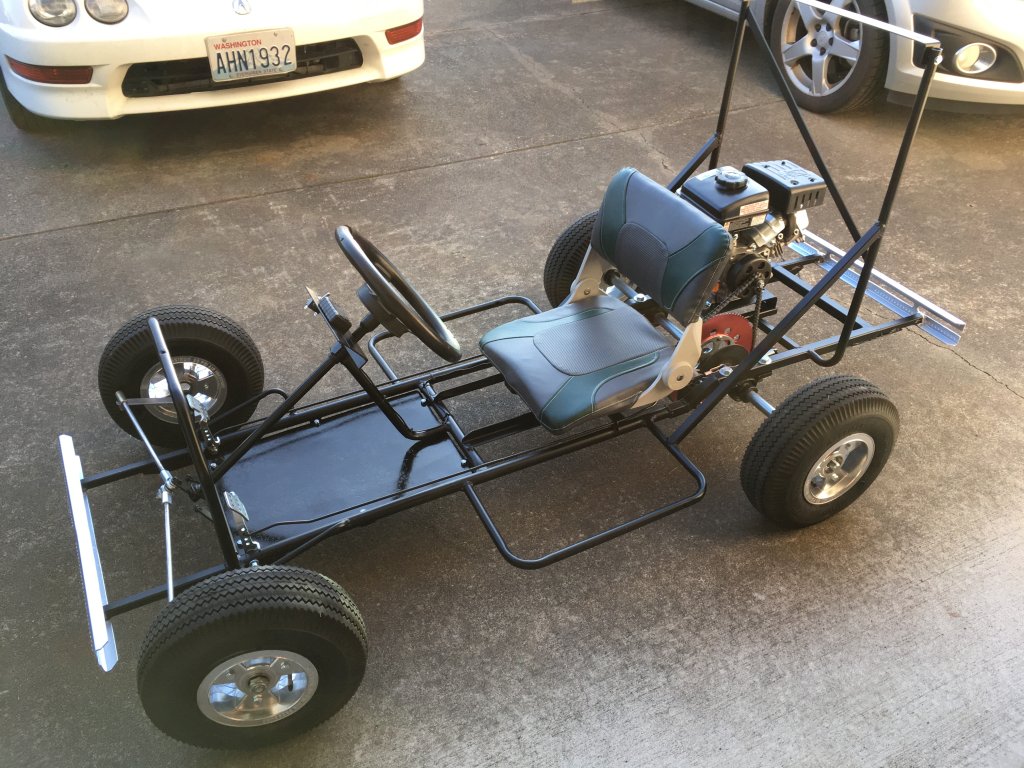
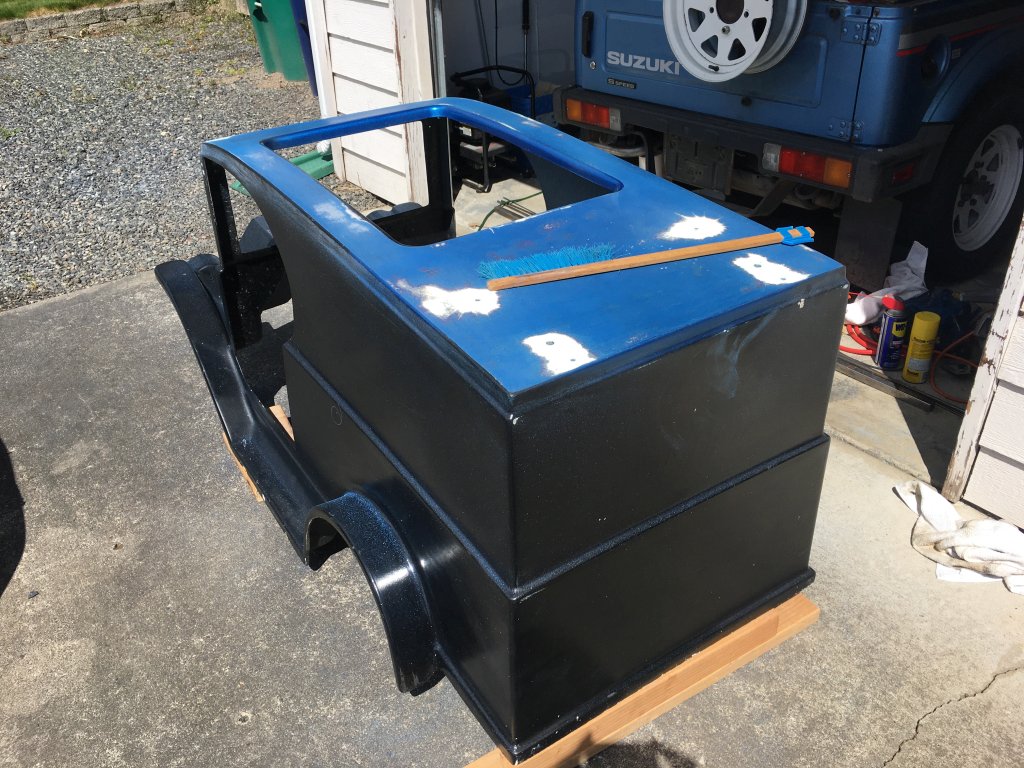
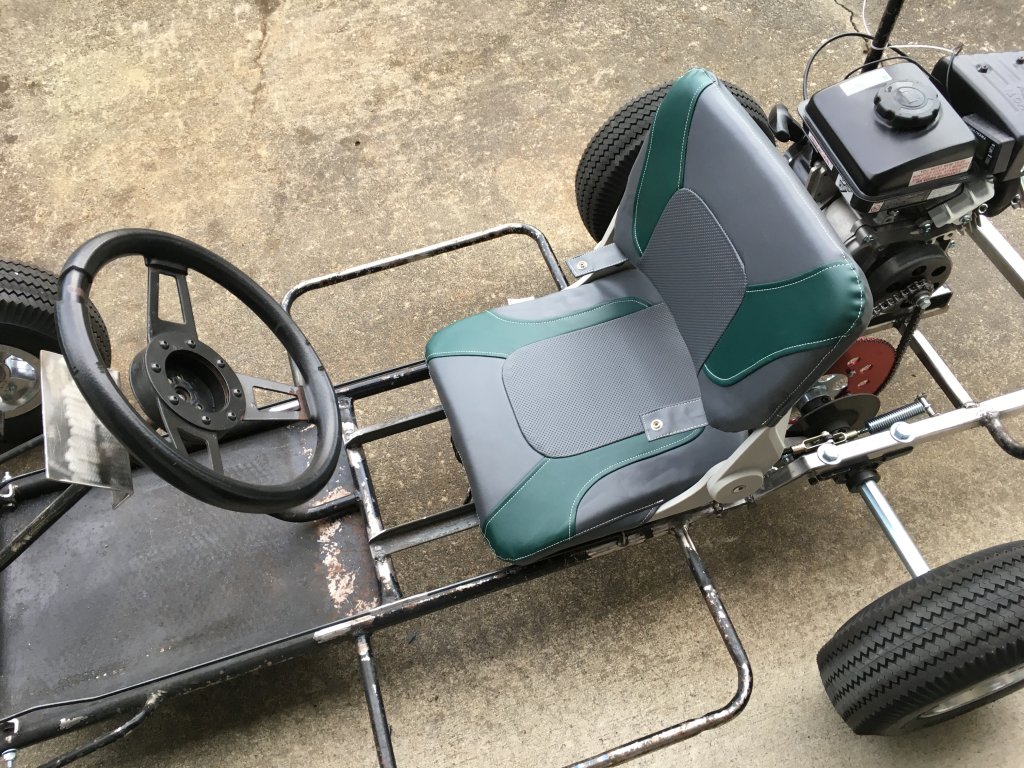
Your project is looking good! Nice work !!


Sent from my SM-J700T using Tapatalk
 
  • Like
Reactions: Rat

Stew

Member
Messages
50
Reaction score
4
gegcorp2012 I was thinking of something along those lines also, and yep I will definitely practice first!

The seat came today so I was able to make a mount and get that finished. Here is the seat mounting setup for the original seat, where ever that is.
IMG_2963.jpg

I cut that off, cleaned up the old welds and made a bracket out of 1x1x1/8 angle iron
IMG_2965.jpg

And here is the seat mounted. The cushions are not snapped down yet, the green upholstery will tie into the paint scheme for the body.
IMG_2966.jpg

It's actually a boat seat from Amazon and folds down which is perfect because once the body is mounted that will really help with access to the pull start. Also I mounted it a little further back than the original seat, every little bit of leg room helps!
IMG_2967.jpg

And finally I made a little dashboard for the tach/hour meter and engine stop switch
IMG_2964.jpg
 
Last edited:

JTSpeedDemon

2019 Build Off Winner!
Messages
4,026
Reaction score
147
Location
Texas
I wouldn't put the kill switch there. To have to reach through the steering wheel to cut the engine, well, I see too many possible wrecks.
 

Stew

Member
Messages
50
Reaction score
4
Yeah reaching through the steering wheel wouldn't be the best idea. It may not look like it but if I mount the switch on the right side of the dash, because I'm right handed ya know, then moving your hand from the steering wheel around to the switch is a pretty quick motion, I was testing it out to make sure.
 

gegcorp2012

Active member
Messages
491
Reaction score
62
Location
Alabama
@stew ,
That boat seat seems like a great idea, especially that it folds to give access to the rip cord.

I love to see original ideas like that.

BTW... on the grille, did you consider upgrading to a real grille to match your real Ford logo ? A screen window frame and a piece of expanded mesh would be easy to make the right size since the target shape is pretty square. If you can find those pieces cheap, and are able to make some hacksaw 45 degree cuts to the screen frame, it would add a classy touch of authenticity. Bonus points in the looks department if you add a piece of brass kick plate to simulate the top radiator tank.

Sent from my SM-J700T using Tapatalk
 

Budget GoKart

Aka a kenbar
Messages
2,195
Reaction score
118
Location
roachdale, indiana
I learned something from a race kart frame builder he says, always have your kill switch where you push it down to turn the engine off. because its quicker than pushing it up. also have it to where if the thottle is stuck you can quickly slap it down and it turns off. Jim white told me that he used to make race karts and travel alot. So he has seen many wrecks.
 

Stew

Member
Messages
50
Reaction score
4
gegcorp2012 If I'm being honest the boat seat wasn't my idea, I ran across the idea elsewhere, and in fact in the customer reviews on Amazon a guy had a picture of him using them on his golf cart! I did kick around ideas about cutting out an opening to make a realistic grill, and that is still on the table.

Budget GoKart those are great points.

I test drove it with the heavy body on a few days ago and found it has another built in way to quickly scrub off speed in an emergency, with the live axle and grippy tires and 3 hp motor just stop going in a straight line :)

In all seriousness though the stop switch will be nearly at my fingertips quickly accessible in an emergency.
 

Stew

Member
Messages
50
Reaction score
4
Got a few more things done.

After getting the seat mounted I could check for clearance between the seat and inside of the body for bracing the rear body mount. I ran 3/4" square tubing from the rear body mount down to the side body mount.
IMG_2968.jpg

Next I cut out the floor pan because I wanted it to be removable because... well just because haha.
IMG_2970.jpg

Here it is cut out, nasty. Actually I wanted it removable so I could clean it up good for repainting. With it welded in place I couldn't get to the area between the floor pan and tube frame.
IMG_2971.jpg

I welded in six tabs to bolt it in and after trimming off the jagged edges of the floor pan it fits good.
IMG_2975.jpg

Next I cut off the spindle arms that I had recently re-welded on because they were so short that the steering was just way too twitchy. I made longer ones to slow the steering down but still need to weld them back in. They look really long next to the really short ones but really they are a normal length.
IMG_2976.jpg

And finally I made front and rear bumpers. If you look at pictures of Model T bumpers a lot of them are a 'double bar' style, I made these to resemble that and with the body on they look pretty good.
IMG_2977.jpg
IMG_2974.jpg

The frame is almost done!
 
Last edited:

Stew

Member
Messages
50
Reaction score
4
More progress

Here is the revised spindle arm/steering geometry, this slowed the steering response down noticeably. I haven't test driven it yet but when working the steering wheel back and forth this feels MUCH better.
IMG_2979.jpg

I also made steering stops
IMG_2980.jpg

That floor pan? Well after scrubbing off what looked like some kind of aerosol can undercoating with gasoline, and taking a wire wheel to it I gave it a muriatic acid soaking to get rid of the rest of the rust.
IMG_2983.jpg

And finally after some work with the angle grinder with wire wheel the frame is hanging from the hoist ready for some paint.
IMG_2995.jpg
 
Last edited:

Stew

Member
Messages
50
Reaction score
4
And the frame is painted and put back together!
IMG_3013.jpg
IMG_3014.jpg

I just did a couple test laps around the neighborhood and it's running good, with a lot of people at home these days there have been a few mini bikes and atv's doing laps around the neighborhood :cheers2:

Now it's time to get working on that fiberglass body :auto:
 
Last edited:

Stew

Member
Messages
50
Reaction score
4
Thank you for the kind words!

Alright there was one last thing to take care of before starting on the body... the steering wheel. It's not the original as far as I can tell, don't know what it's off of but the foam grip had a big piece missing from the 12:00 position, it was missing the center cap and the spokes were rusty.
IMG_3019.jpg

Steering wheel parts removed
IMG_3024.jpg

Foam grip cut off
IMG_3025.jpg

Steering wheel wire-wheeled and repainted satin black and aluminum. Also had a gray leather steering wheel cover collecting dust in my garage and a scrap piece of 1/8" textured ABS plastic
IMG_3027.jpg

The steering wheel cover was too large so I cut a piece out and sewed it back together, ABS center cap cut out.
IMG_3029.jpg

All done and mounted with new cap head screws. I didn't shorten the cover enough so when I was almost done stitching it on I had to cut out a little more at the bottom center and try to sew it back together on the wheel, it's a little bunched up but good enough. Stitching those covers on stops being fun by about the 3rd or 4th stitch.
IMG_3030.jpg
IMG_3031.jpg
 
Last edited:

Stew

Member
Messages
50
Reaction score
4
Whitetrashrocker - I do like the slower steering much better although I did give up some turning radius, I can still make a U-turn in the width of a neighborhood street but you have to plan it out a little. The best of both worlds for steering response that isn't on crack AND keeping your turning radius would be using a system of sprockets and chain from the steering wheel to the steering shaft like I've seen done here a couple of times but that isn't worth the effort on this kart.

firemanjim, landuse, Budget GoKart - Thanks guys!

I haven't made much progress these last few weeks with work being busy but more updates are coming soon :auto:
 

Stew

Member
Messages
50
Reaction score
4
Got started on the body today... this is going to take a lot of sanding. Whatever this metallic blue paint is that's on it, it is on thick and it gums up into little balls as I'm sanding, good times. That blue is under the black as well and it was applied so poorly that it's going to take some work just to get a reasonably smooth starting point for fiberglass repair and primer.
IMG_3043.jpg
 
Last edited:

landuse

Moderator
Staff member
Messages
18,626
Reaction score
224
Location
Pietermaritzburg, South Africa
Got started on the body today... this is going to take a lot of sanding. Whatever this metallic blue paint is that's on it, it is on thick and it gums up into little balls as I'm sanding, good times. That blue is under the black as well and it was applied so poorly that it's going to take some work just to get a reasonably smooth starting point for fiberglass repair and primer.

Ugh! Thats the type of paint removal that makes me want to give up DIY :D :D

Good luck
 

jonboy

Member
Messages
130
Reaction score
0
Location
Owensboro, KY
My only concern would be that seat. It doesn't offer much for protection from the sprocket and chain from a shirt tail, hair or body part. aside from that this is a nice build
 
Top